Adding a Drive into Asset Management for more Storage Space
Steps to add it:
Attach the drive to the machine.
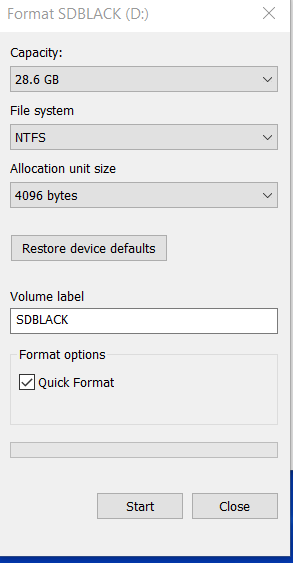
Right click on it in File Explorer, and choose Format. The drive will have to be in NTFS Format to add it into Thunder. If it is not NTFS, change the File System to NTFS, and choose Start. Back up any files on the drive before moving on. If you don't need anything on the drive, then choose OK on the following prompt.
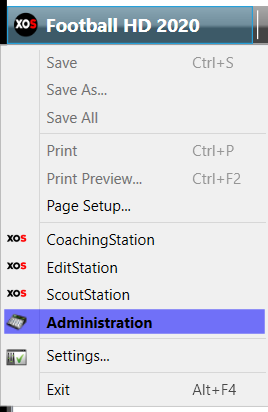
Once the Format is completed, open Thunder, and Navigate to the top left hand side and click on the on the Sport HD Year box to get this dropdown. From there, choose Administration.
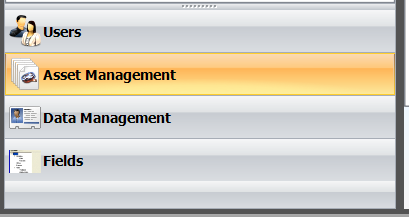
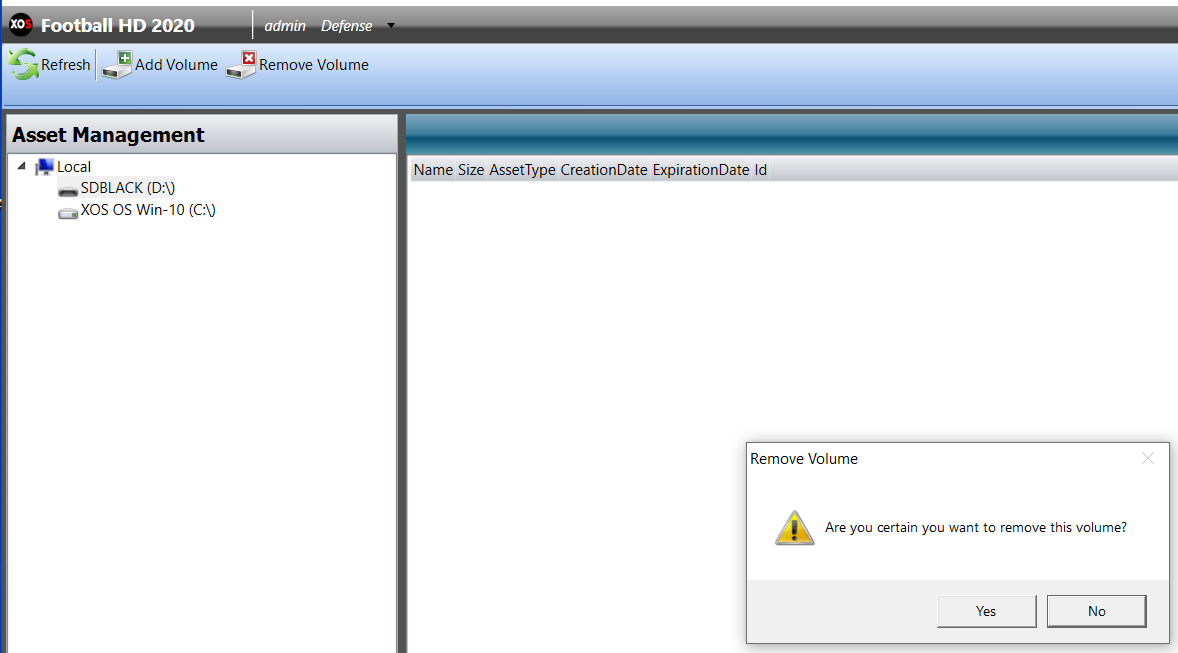
Choose Asset Management on the bottom left once the screen opens.
Choose Add Volume, and add the Volume that you would like.
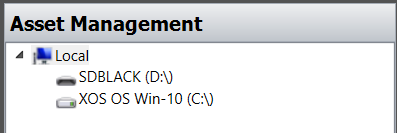
Once you add the drive in, you should see it listed under Local.
As long as the drive is plugged into the machine you can leave it in Asset Management, but if you are going to disconnect it for any reason, it is recommended to remove the drive.
Steps to Remove the Drive:
Navigate to Asset Management as shown above.
Click on the drive that you want to remove, and choose Remove Volume. Then choose Yes.
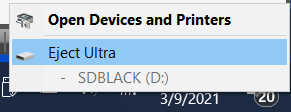
Close out of Thunder, and Navigate to tray icons and Safely Eject the drive. Once that is done, you can safely unplug the drive.
More Info
While the drive is not in Asset Management or is disconnected from the machine, the media that is saved on there will not play in Thunder. In order to watch that media, you will need to add the drive back into Asset Management. It is not uncommon to run into issues adding the drive in to Asset Management if it was not properly removed. If this happens, reboot the computer with the drive connected. If you still need help, reach out to Support.


Comments
0 comments
Please sign in to leave a comment.