
Saving and Managing Quickie Stat Presets
1. Saving Presets

2. Saving a Preset
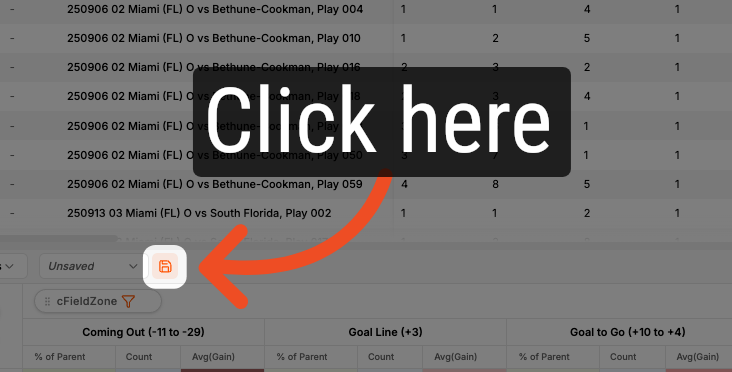
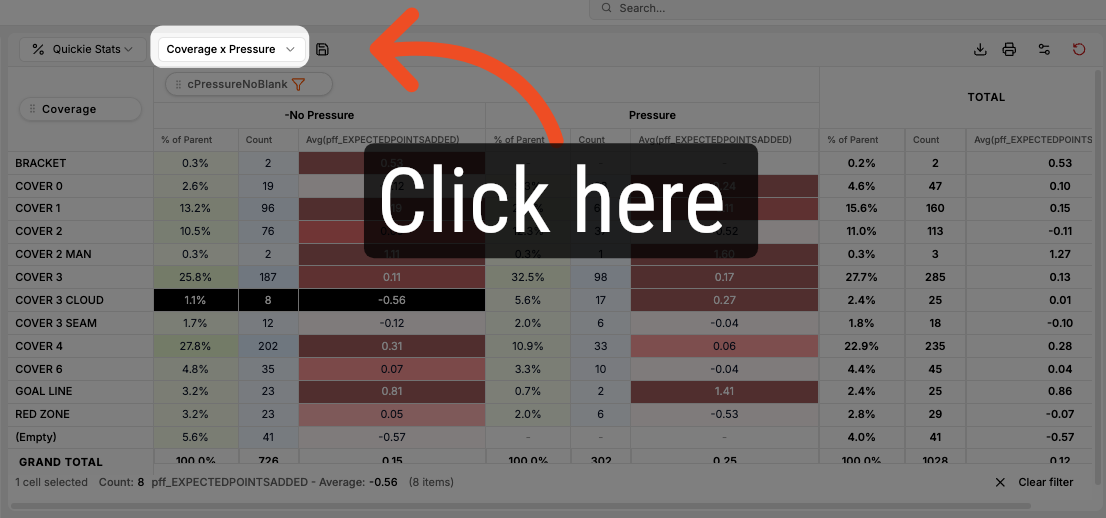
Click on the Save icon next to the preset dropdown menu.
3. Name the Preset
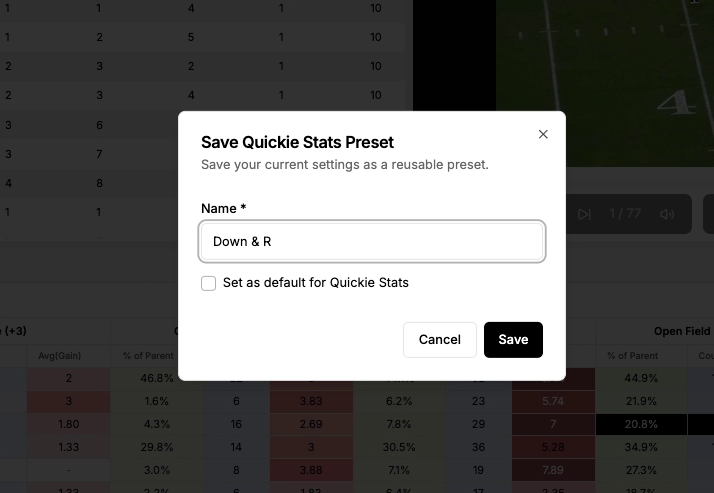
After clicking the icon, the Save Quickie Stats Preset window will appear. This window enables you to name your Quickie Stat and includes a checkbox to designate it as your default. Your default preset will automatically open the next time you access the Quickie Stat window.
4. Opening the Quickie Stat Preset Dropdown
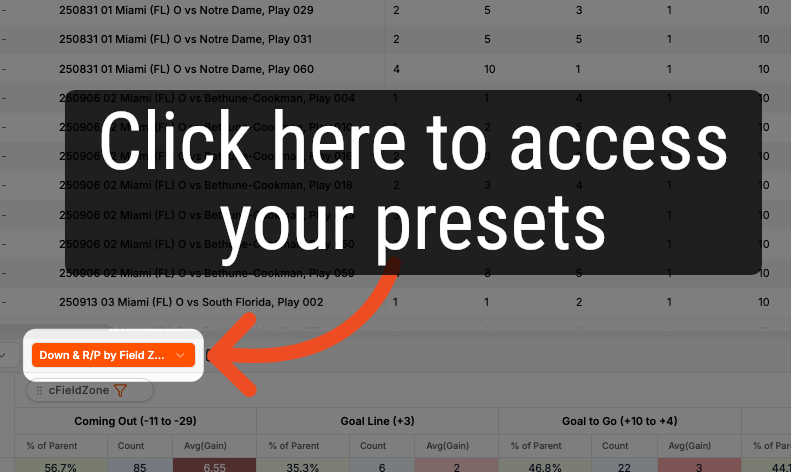
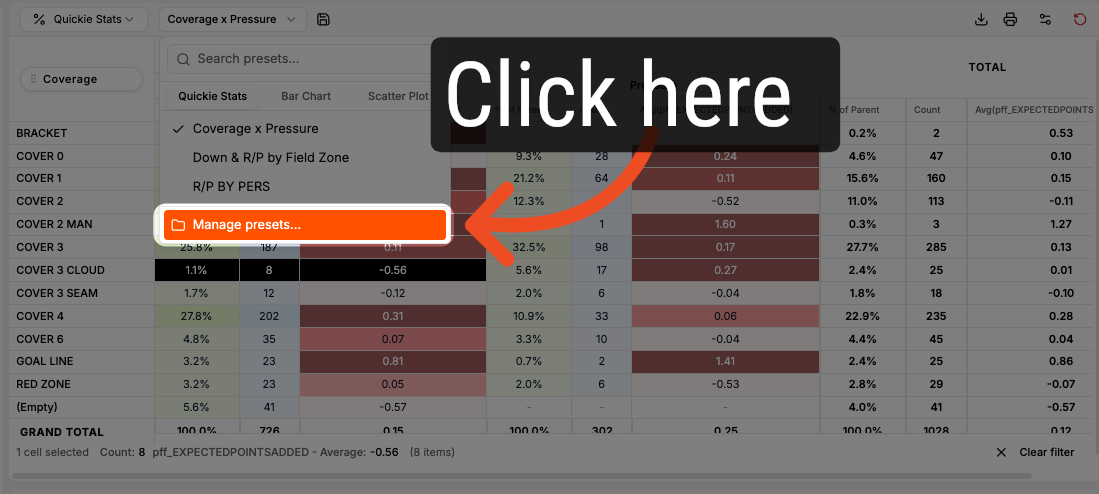
The Quickie Stat Preset dropdown menu is positioned to the left of the save icon. Click the dropdown to view your available presets.
5. Preset Dropdown
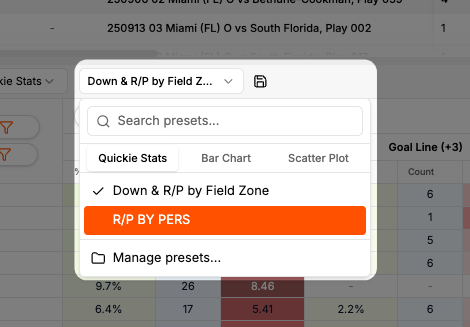
The Preset dropdown will display all of your saved quickie stats, charts or scatter plots.
6. Managing Presets
7. Accessing the Manage Preset Menu
8. Open Manage Presets Menu
Next, select the Manage presets option at the bottom of the dropdown.
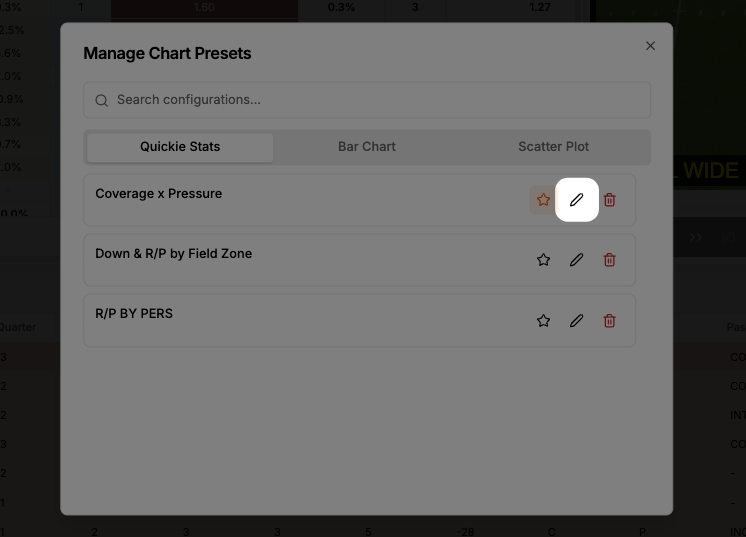
9. Manage Presets Menu
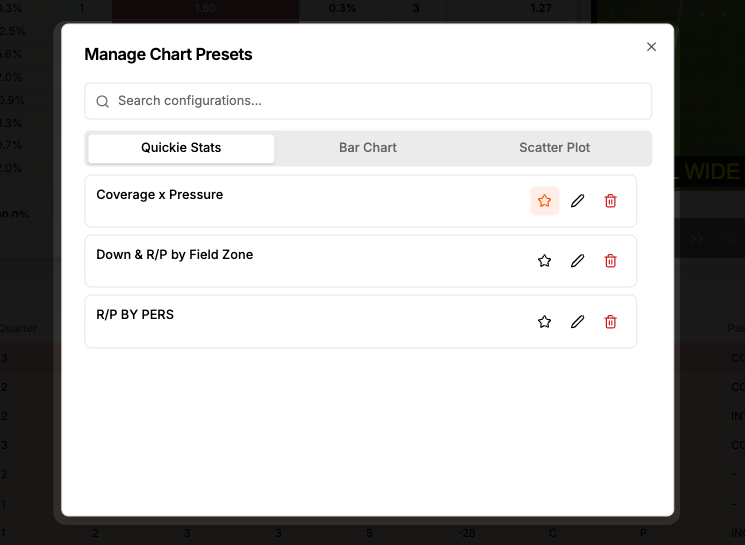
The Manage Presets menu will open.
10. Set a Default
Click the star icon to select your default preset.

11. Rename a Preset
Click the pencil icon to rename the selected preset.
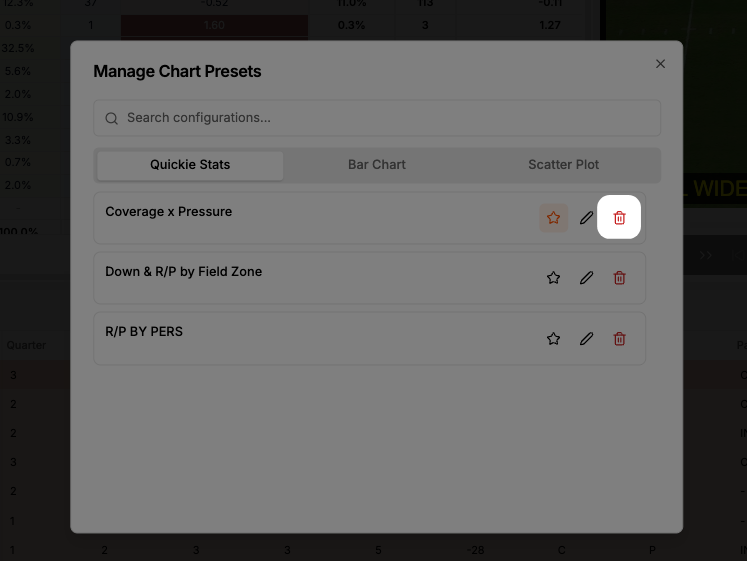
12. Delete a Preset
Click the trash can icon to remove the selected preset from your list.
Comments
0 comments
Please sign in to leave a comment.