Locate the XOS Server Admin Tool on the desktop of the microserver laptop.
Login with a Super Administrator account.
Select Asset Management.
Click "Add Volume" to attach a media volume.
To eject a volume, it is important to first select the volume and click on "Remove Volume" in order to first remove it from the list of volumes.
Once the volume is removed, it is important to click on the USB icon in the bottom right system tray and click on "Eject Device". (Note: if the volume has not been removed from Asset Management a message that the device is still in use will appear).
XOS Organizer Server Tool
To Delete Network Organizers (Top-level folders), open the "XOS Organizer Server Tool" and login.
Select the "Manage Network Organizer" icon at the top of the window.
Select the Network Organizer you wish to delete and click the "Delete" button.
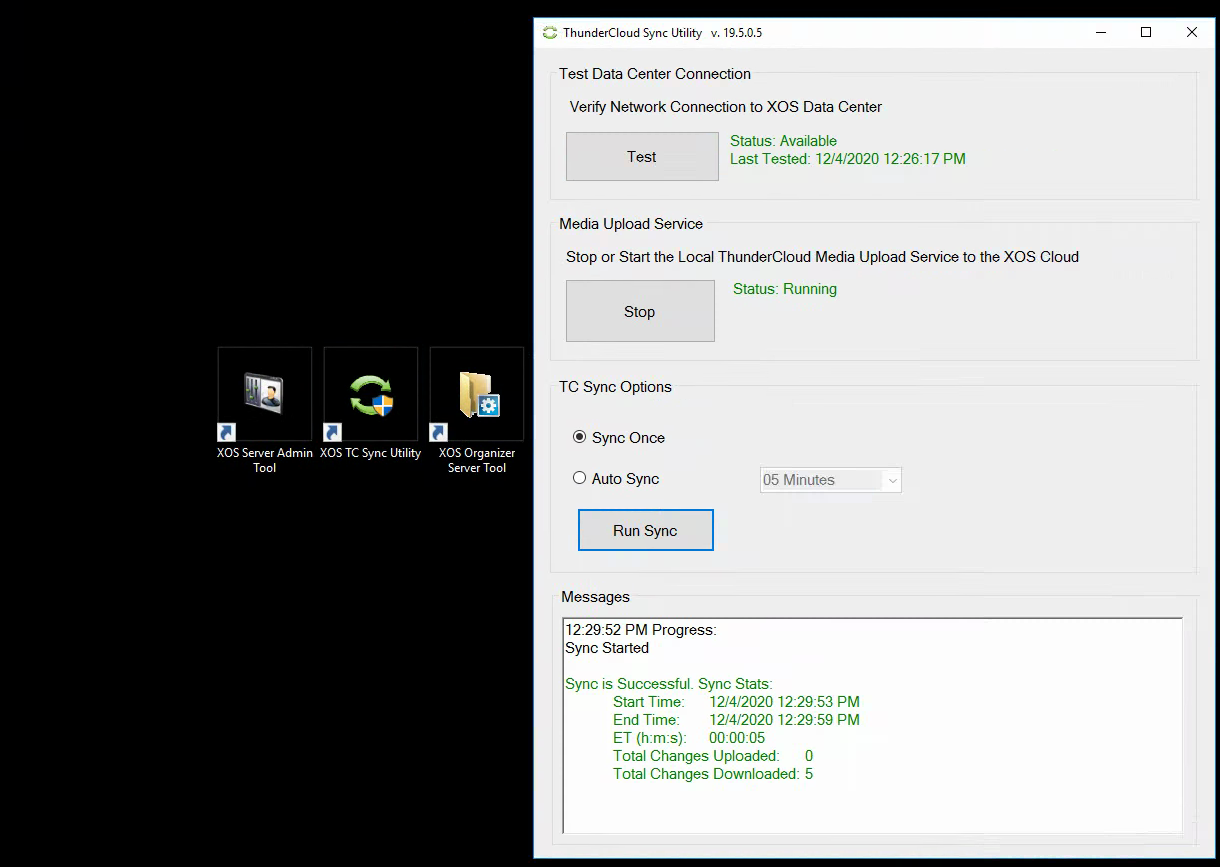
ThunderCloud Sync Utility
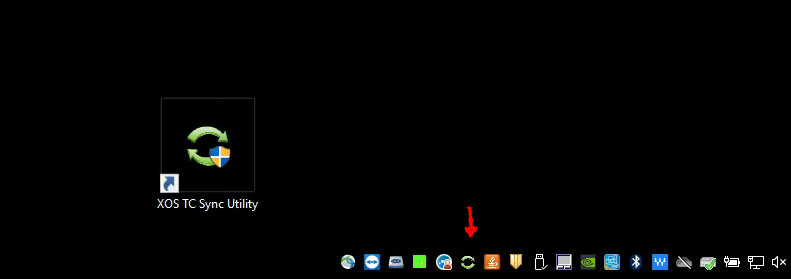
In order to synchronize data to ThunderCloud, first double click on the XOS TC Sync Utility on the desktop. (Note: If TC Sync Utility has already been opened, it will show up as a green semi circle in the system tray and can be accessed by double clicking on that icon).
Users have the option to "Sync Once" or select "Auto Sync", which will run a sync in 5 minute increments based on the user's preference. Once the selection has been made, click the "Run Sync" button and the TC Sync process will begin once you have selected "Yes" to the corresponding pop-up.
This process syncs all changes from the database up to ThunderCloud, and conversely syncs down all of the data that was made in the cloud back to the database. This is represented in the Total Changes Uploaded/Downloaded message.
Auto Sync is not recommended to be left on over night as it will interfere with Maintenance Plans and a SQL script will need to be run to correct TC Sync and get it working again.
ThunderCloud Media Upload Service:
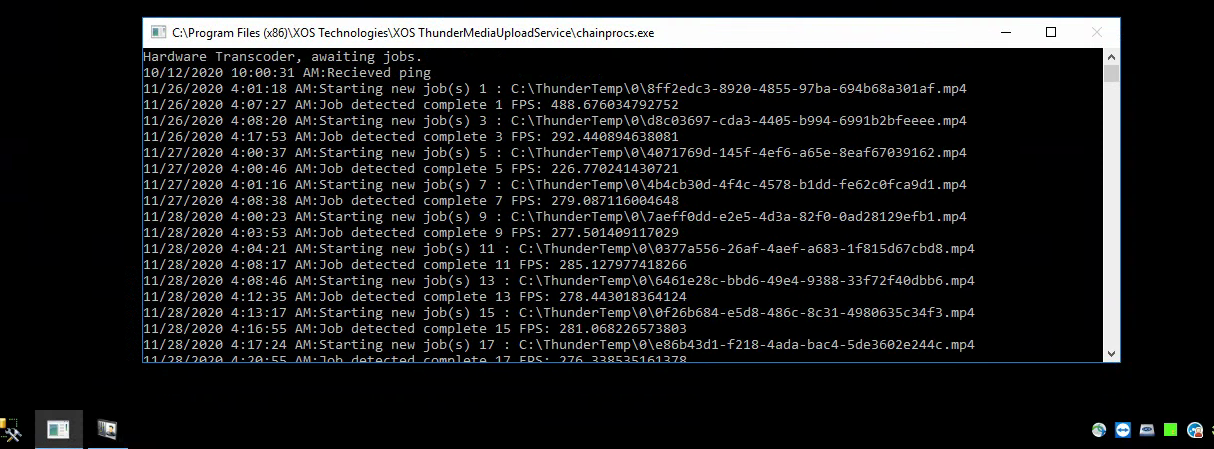
On startup of the microserver laptop, a command prompt window should automatically open and give a "Hardware Transcoder, awaiting jobs" message, followed by a "Received Ping" message once the Media Upload Service starts.
Users can minimize this window but it is necessary that it is running in order for the Media Upload Service to successfully push media to the cloud.
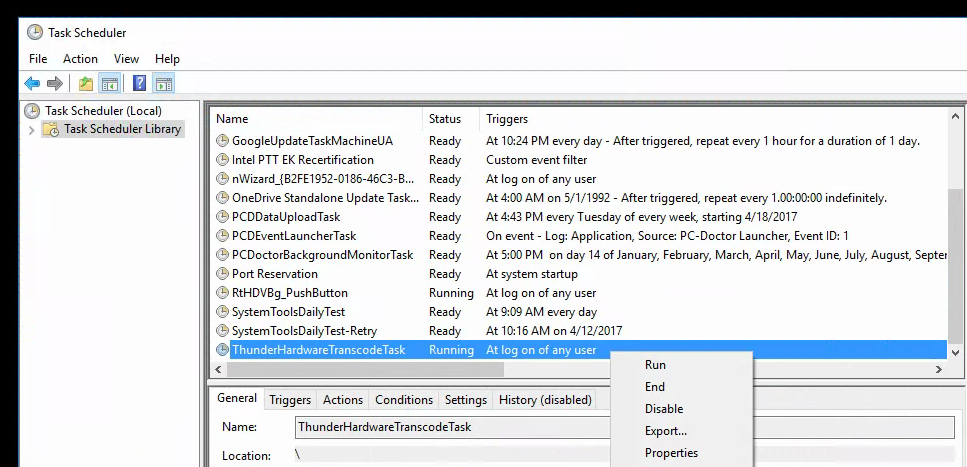
If the hardware transcode task (command prompt window) does not automatically start on boot-up of the laptop, users can go to "Task Scheduler">Task Scheduler Library>ThunderHardwareTranscodeTask (right-click, run).
To confirm the Media Upload Service is running, simply go to "Services" on the laptop and search for the "XOS ThunderCloud Media Uploader."
It is also important that the media you are trying to push to the cloud lives on one of the listed local media volumes for the microserver in asset management.


Comments
0 comments
Please sign in to leave a comment.