
The XOS Vault Exchange Console manages the upload and download of assets from XOS Vault Exchange. The application can be installed on any machine running Windows 10 or Windows Server 2016, or greater. It has no system prerequisites and can be installed on multiple computers. It will function so long as it has an internet connection regardless of whether or not it is connected to your video network.
The application can be downloaded here XOS Vault Exchange Console.
To learn how to use the Console check out the Console User Guide.
Jump To ➡️
Installation and Setup
Installing the XOS Exchange Console Application
- Double click on the installer icon to begin the install.
- Click Next on the first screen.
- On the second screen, you’ll be asked if you’d like to install the Open Field Hot Folder.
- If installed, this will add an additional upload hot folder to upload Open Field data.
- This is not a required folder for XOS Vault Exchange.
- Click Install to continue the installation.

- When the installation completes an application will launch in your system tray.
- You can set the application to always display in the system tray by dragging and dropping its icon.
Using the Auto Upgrade
Checking for the Auto-Upgrade
If an auto update is available, your Exchange Console icon with Flash in the System Tray. If you see this, you can kick off the Auto-Upgrade by doing 1 of the 2 options.
1. Reboot the Computer. When the Exchange Console starts up, you will be prompted to run the Auto-Installer.
2. Close the Exchange Console and Relaunch it. The video below demonstrates how to close and relaunch.
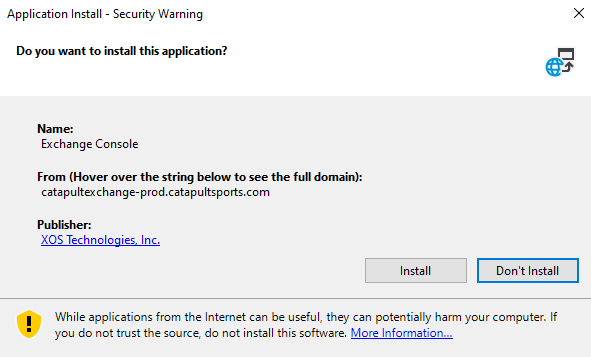
If you receive the prompt to Install the latest version, Click Install and follow the prompts.
If your Exchange Agent Console has a black icon, contact thunder@catapultsports.com to assist in upgrading to the version that allows for the Auto Upgrade.

Comments
0 comments
Please sign in to leave a comment.